


it’s all about connection
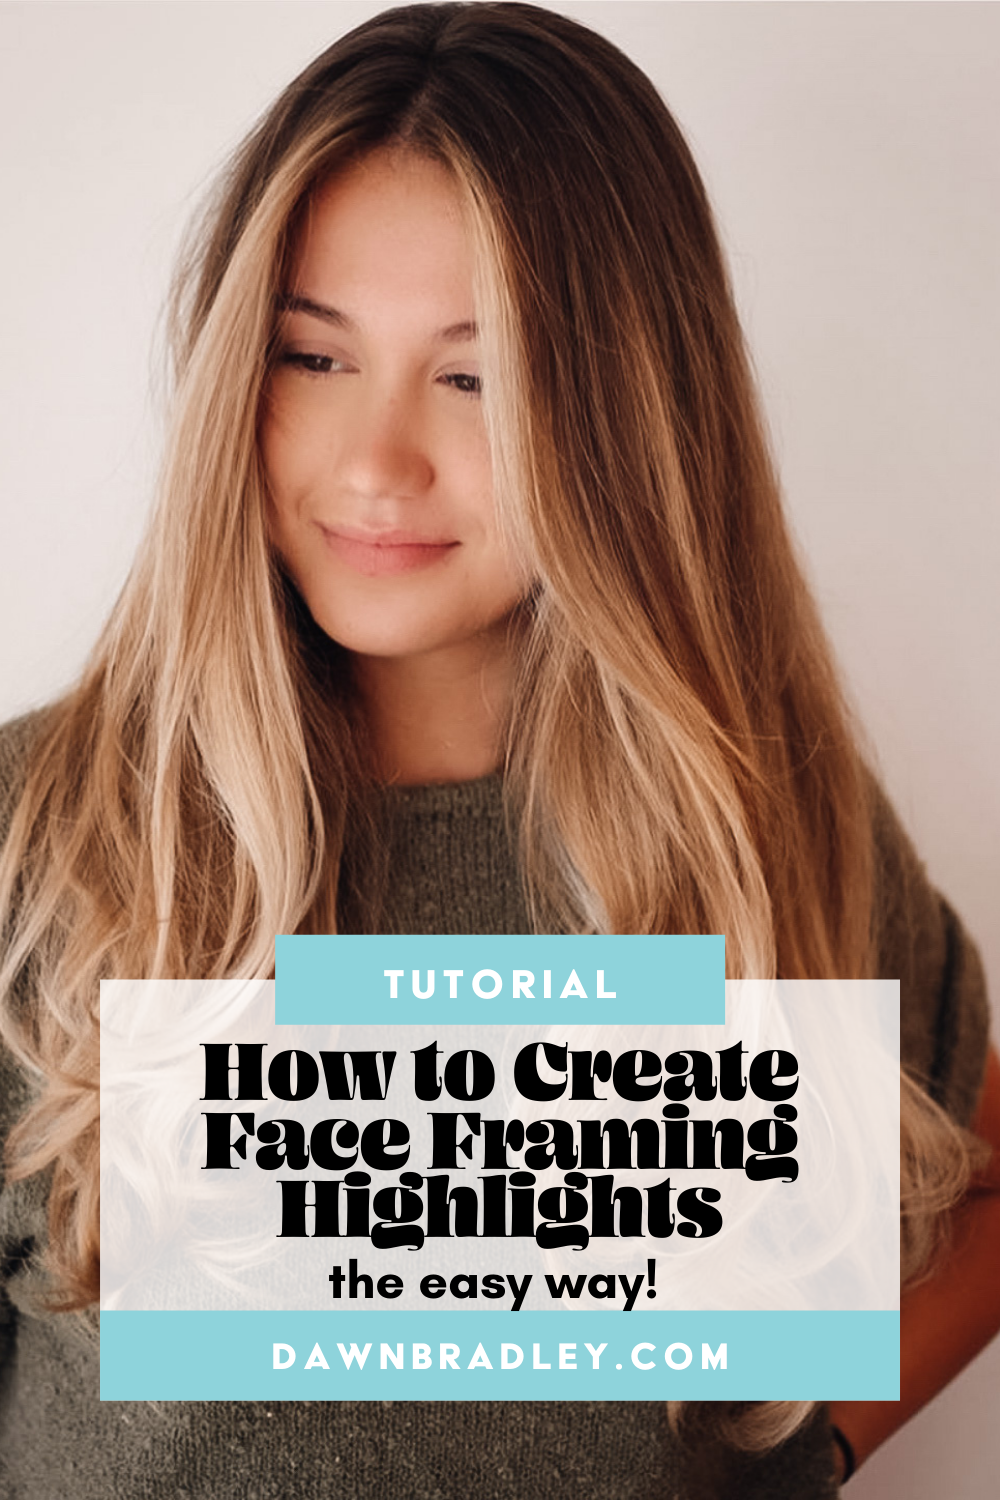
Have you ever wondered what the difference between a bleached bang and a money piece is?
It’s actually a very subtle difference that can make a MAJOR impact on the end results of your client’s hair.
I’m combining foils with open-air hair painting to create the best and brightest money piece around and I’m walking you through it in this step-by-step tutorial.
The Easiest Technique for the BEST Money Piece
(check the video above for an in-depth walkthrough)
Step 1: Mix up your lightener
For this technique, I’ll be mixing up Oligo Blacklight Balayage Clay Lightener with 40 volume for the open-air and Blacklight Cool-Toned Blonde Lightener with 10 vol for the foils.
Check out my tutorial here for the easiest way to mix your lightener for max lift
Step 2: Start at the front to create the most impact
Because we really want that money piece to pop we’re going to start by applying at the front. We’re using foils to lighten it low and slow (this will be on the longest).
PRO TIP: Keep the sections fine and back-to-back. This will help the hair lighten evenly while also giving max lift.
Step 3: After you’ve created your thin back-to-back sections take a weaved section
This will help blend the money piece into the rest of the hair
Step 4: Apply clay lightener to triangle-inspired sections around the hair
This application shouldn’t take you longer than 30 minutes as it’s not a full head or even a half-head of highlights
PRO TIP: When applying lightener around the hairline bring the lightener up to the root and then angle it back. This will create the connection between your money piece and the rest of the balayage
Step 5: Tone and shadow root at the sink
I’m using 7CC and Pastel Peach in Shades EQ for the toning and then going over with Pulpriot Cleopatra mixed with Pravana Neon Orange vivid
PRO TIP: Check out my super-secret technique for creating a seamless shadow root
Step 6: Rinse, style and snap those pics
And there you have it, 6 simple steps to create the best and brightest money piece. This can be used on blonde clients, brunette clients and even redheads like my client in this tutorial.
I’m curious, will you try out this technique? Shoot me a DM over on Instagram @dawnbradleyhair and let me know. It seriously makes my day when I hear from you.
See ya in the next tutorial, friend!